
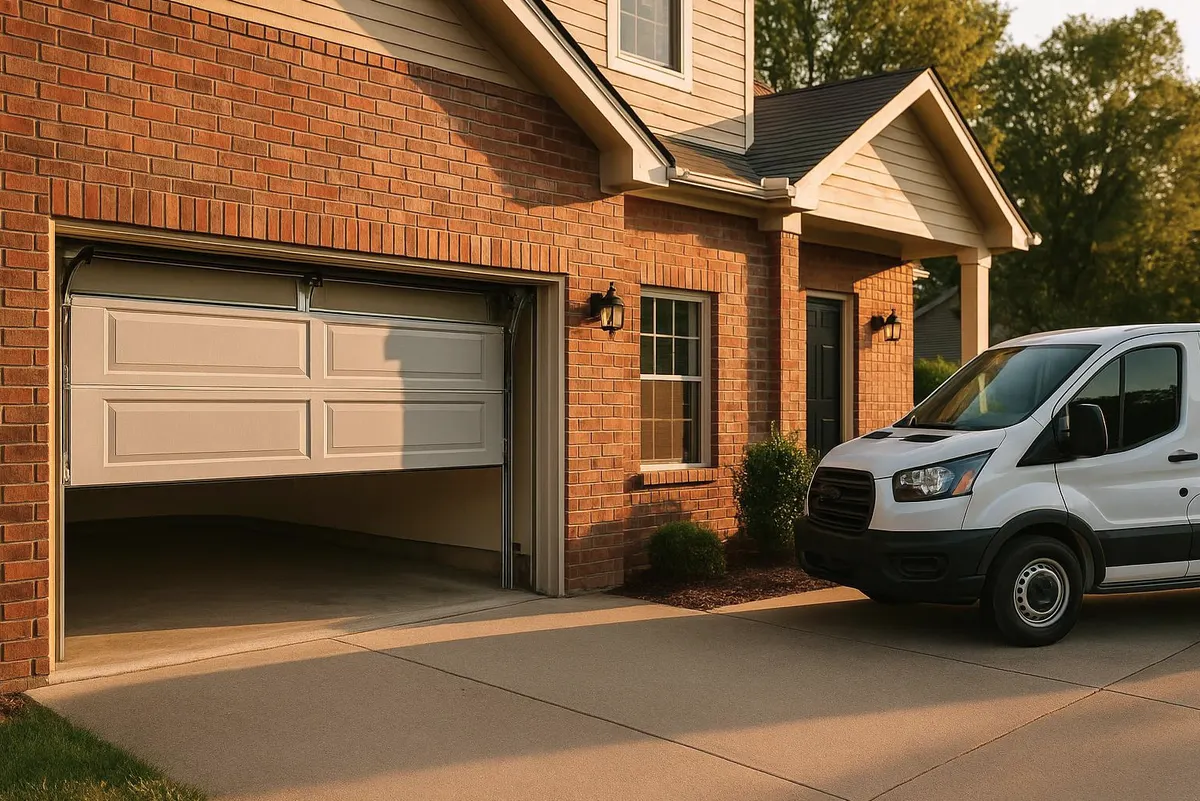
The Moment You Notice It
You're grabbing something off the shelf by the garage door and you feel it: a thin line of cold air running across your ankles. Or maybe it's the opposite problem — you walk in after a storm and there's a damp stripe on the concrete right under the door, or a trail of dead leaves and grit that somehow made it inside even though the door's been closed all day. Sometimes it's worse: a few mouse droppings along the baseboard, or a dead stink bug collection in the corner. All of these start in the same place — a worn-out bottom seal or weatherstripping that's no longer doing its one job, which is closing the gap between your garage door and the world outside.
This is one of the cheapest, most overlooked fixes in home maintenance. A new bottom seal typically runs in the $15–$40 range for materials, and side/top weatherstripping is similarly inexpensive. Given the ice, road salt, and wide temperature swings this area sees from November through March, a worn seal isn't just a minor annoyance — it's an open invitation for meltwater, salt residue, and cold air to work their way into the garage all winter long.
What's Actually Failing
There are three separate strips most garage doors rely on, and they wear out independently:
- Bottom seal — the rubber bead or bulb gasket along the base of the door that presses against the floor.
- Stop weatherstripping — the strip around the sides and top of the door frame that the door closes against.
- Threshold seal (if present) — a separate strip glued to the garage floor itself to fill gaps from an uneven slab.
Cracked, flattened, or torn rubber on any of these lets in drafts, water, dust, and pests. Hardened or brittle seals are common after a few winters of ice and salt exposure — the material just can't flex in the cold the way it used to.
Tools You'll Need
- Tape measure
- Utility knife
- Flathead screwdriver or small pry bar
- Replacement bottom seal (bead or T-style, matched to your existing retainer track)
- Replacement stop weatherstripping (foam or rubber strip, often sold in a roll or kit)
- Wire brush or stiff broom
- Work gloves and safety glasses
- A helper and a flashlight (for the final test)
Step-by-Step: Replacing the Bottom Seal
- Inspect first. Run your hand along the full width of the bottom seal with the door closed. Feel for flat spots, cracks, or places where it's pulled loose from the track. Check the corners especially — they take the most abuse from scraping on uneven concrete.
- Measure the door width and note the retainer style. Most doors use a U-shaped aluminum or vinyl track that holds a T-shaped or bulb-shaped rubber seal. Bring the old piece to the hardware store or match it by style name so you buy a seal that actually fits your track — this is the step people skip and then wonder why the new seal won't seat.
- Raise the door partway and clear the floor and track of leaves, salt residue, and dirt with a wire brush or broom. Old salt buildup is often why seals degrade faster here than in milder climates.
- Pull the old seal free by sliding it out of the retainer track, working from one end to the other. If it's brittle, it may break into pieces — that's fine, just get all the fragments out of the channel.
- Feed the new seal in at one end and work it down the length of the track, keeping it straight and avoiding kinks. Some installers find it easier with the door raised slightly off the floor, others prefer it fully down — try whichever gives you better access.
- Trim the ends with a utility knife so the seal sits flush with the door edges, not bunched up or hanging short.
- Lower the door slowly and check contact across the entire width. Have a helper watch from outside while you watch the seam from inside, or vice versa.
Step-by-Step: Refreshing Side and Top Weatherstripping
- Pull the old strip off the door stop molding — it's usually tacked or stapled on, sometimes just pressed into a channel.
- Clean the molding surface so the new adhesive or staples hold properly.
- Press or nail the new strip into place, working top to bottom on each side, keeping even tension so it doesn't bow.
- Close the door and check for daylight gaps by standing inside with the lights off while someone shines a flashlight around the frame from outside — or do it at night and look for light leaking in. This simple test catches gaps you'd never feel by hand.
What's a DIY Job, and What Isn't
Replacing a bottom seal or stop weatherstripping is well within reach for most homeowners with basic tools and an hour of patience. Where it's time to call a technician instead:
- The seal keeps failing in the same spot every few months — that often points to a warped bottom panel or a door that's out of level, not a bad seal.
- The garage floor itself is uneven or sloped toward the door, causing water pooling no seal can fully solve.
- The door doesn't close flush against the stop weatherstripping even when new strips are installed — that's usually a track or spring tension issue, not a weatherstripping problem.
- You're dealing with a commercial overhead door, which uses heavier-duty seal systems and different fasteners than residential models.
When to Call Lakeview Garage Door
If you've replaced the seals and you're still getting drafts, water, or a door that won't sit flush, it's likely something mechanical — an out-of-level track, a warped panel, or spring tension pulling the door unevenly. Our Garage Door Repair service covers exactly that kind of diagnosis, and our Preventive Maintenance visits catch these issues early, before a winter freeze turns a small gap into a bigger headache.
If your garage door in Lakeview, Russells Point, Bellefontaine, or anywhere around Logan County is letting in more cold air, water, or dust than it should, give us a call. We'll get it sealed up right before winter settles in for good.